I need to setup the Web Connector again
Launching the synchronization with QuickBooks
Log into Quickbooks as the main “Admin” user account. Set the company file to SINGLE user mode.

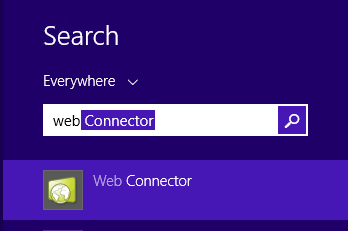
Launch the Web Connector program. This is normally located under Start -> All Programs -> Quickbooks Folder -> Web Connector.
- On Windows 8, you can use the windows key, type “web con” in the search. (You may want to create a shortcut to the Web Connector on the desktop for easier access, or add the .exe to the “startup” folder on the machine.). This program should already be on your machine, as it comes with all default installations & versions of QuickBooks Desktop.
Go to your own ConnectBooster portal (companyname.connectboosterportal.com), and login with any admin account to download a configuration file.
Click the top-left three bar menu  and then:
- Settings -> Integrations -> QuickBooks card.
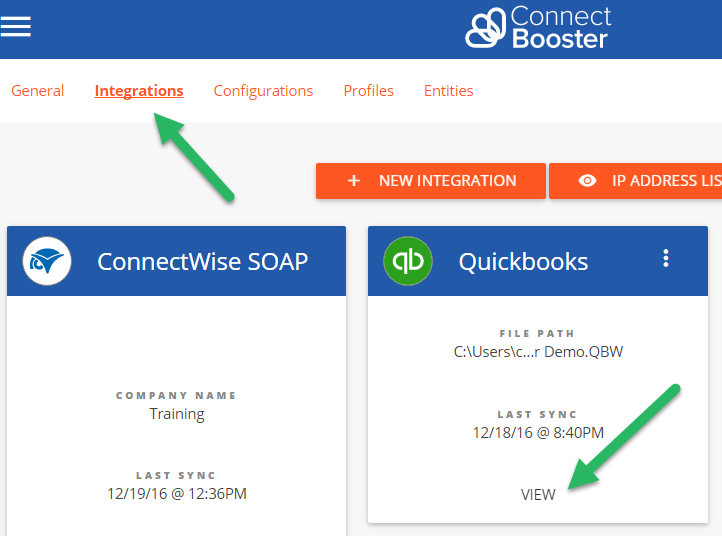

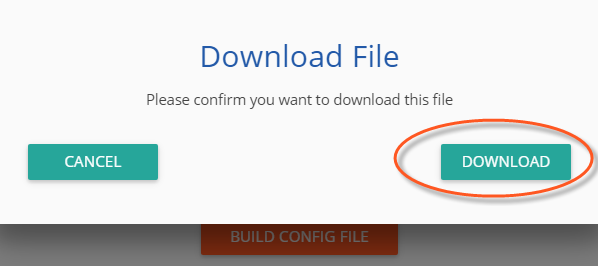
Click "View", and then "Build Config File" to download and save somewhere easy to find (the downloads folder is fine).
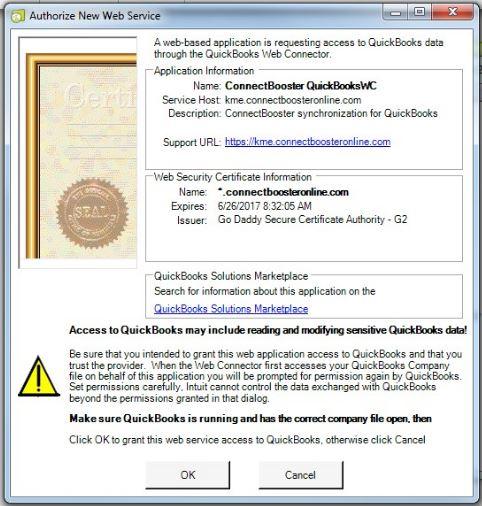
With the Web Connector and QuickBooks programs open, click the “add an application” button (bottom right), and navigate to the file you just saved/downloaded/modified.

After adding the file to the application, Quickbooks should pop-up with an initial permission box, select OK.
On the next pop-up (may be hidden by other QB windows or not show at all) select:
- “Yes, always allow access even if QB is not running.”
- “Login as: ” the dedicated Web Connector user.
- The user should be named along the lines of “ConnectBooster, CBSync, or WebSync”.
Click Continue, and address the next and last prompt message by clicking “Done“
The finished WebConnector setup should look similar to this:
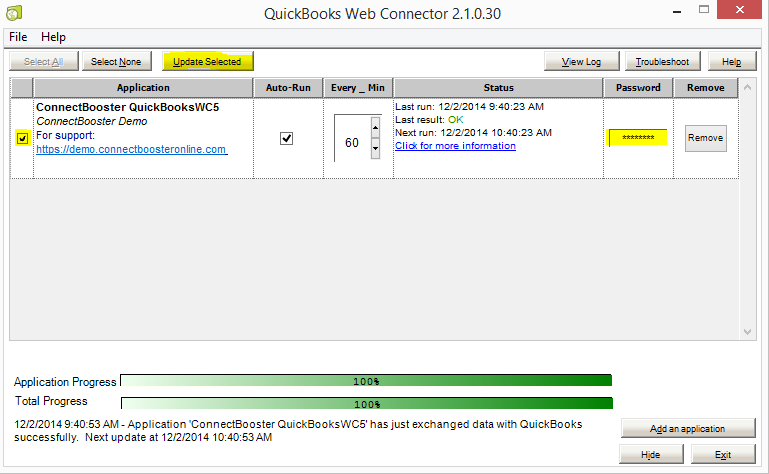
**Note the right column "Password" field**
- Type in anything so it is not blank (ex. Pswrd123)
- Click away or push the TAB key to save.
- You will not need to remember this "Password".
Setup is complete!!
To run a sync:
Check-mark the selection box on the left and click “Update Selected”
- Clicking the “Update Selected” button will initiate syncing invoice & payment data, and may be done as often as you prefer!
- The status bar should start updating, give it 30 seconds or so to see if it has connection errors. If not, you can walk away/minimize as it is ready to go!
*If you do see an error, simply try syncing again as the initial attempt may fail*
*If the Web Connector tool is currently setup on another employee’s machine to sync, we highly suggest UN-checking the “Auto-Run” setting on all non-primary configurations*
Customer support service by UserEcho
