Xero
Integration Overview:
Below is a visual representation of the data that will synchronize between Xero and your portal.
ConnectBooster to Xero Data Flow Diagram:

Expected Behaviors & Highlights:
- No more manually receiving payments!
- All payments made in the billing portal will automatically transfer, and apply directly to the respective invoices in Xero!
- Syncing will occur once every 60 minutes.
- If you want data to show immediately in the portal after creating or adjusting invoices/companies/etc. , you may click "Sync Now" under Settings + Integrations.
- You may de-authorize the connection to Xero at any time.
- However ~ this is ill-advised unless speaking to a support member first. Failure to do so may result in data complications if payments are made.
Getting Started:
1. Login to your created ConnectBooster portal.
- Under the top left three bar menu
, navigate to Settings + Integrations.
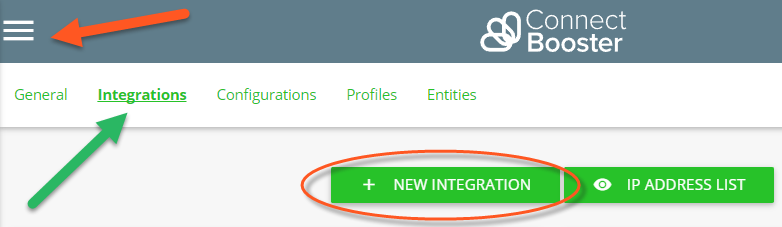
2. Click the "New Integration" button.
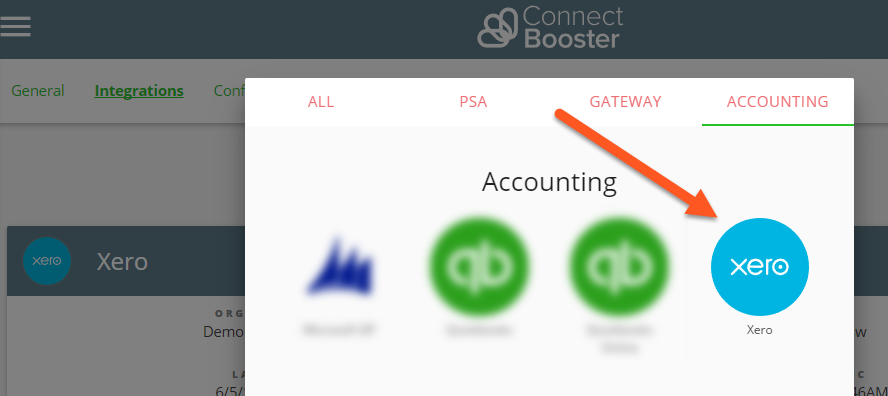
- Select Xero from the "Accounting" Section.
3. Click the "Online Authentication" button.
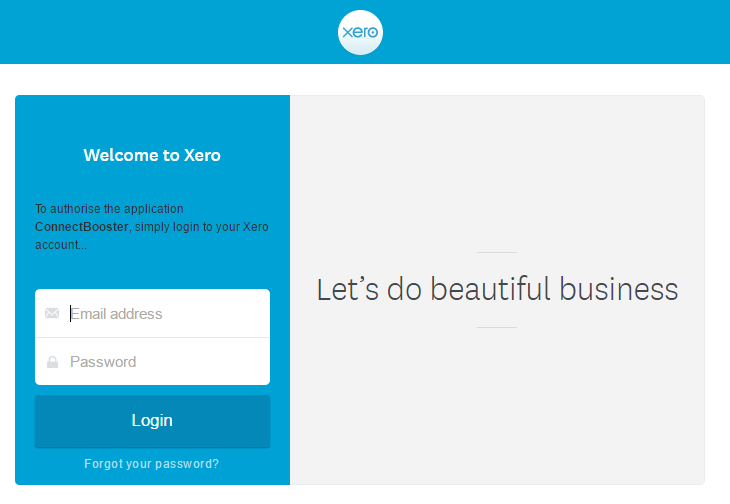
- This will open a new browser tab, prompting you to login to your Xero account.
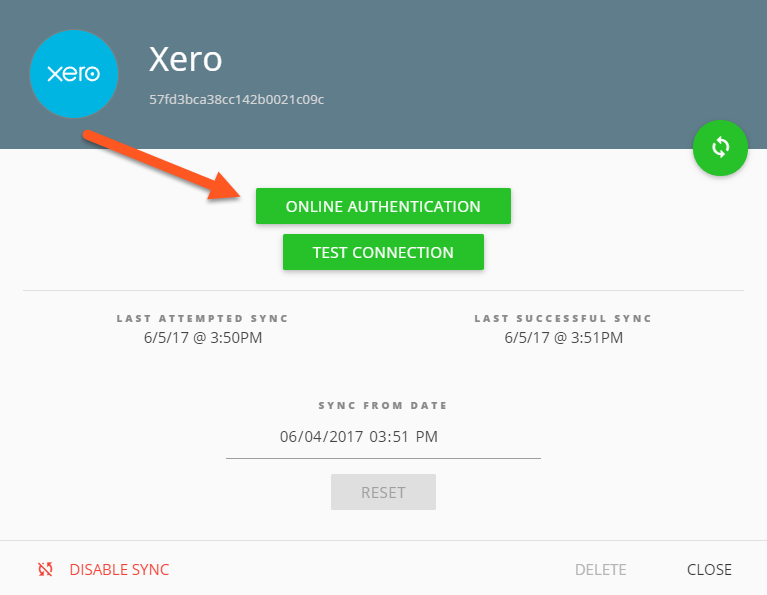
- Authorize the permissions, and "Save" your changes.
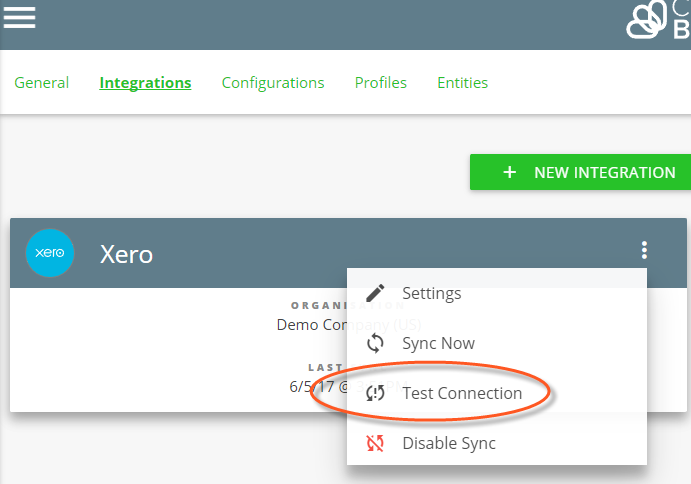
5. Use "Test Connection" to make sure the integration is properly configured.
Note:
The "Sync Now" is rarely needed, as the portal continuously syncs on an hourly basis.
Congratulations !! You are now finished with setting up Xero as your accounting package!
Re-Authorization (Handling Disconnections and Reconnections)
If your syncs are failing due to an authentication issue you can re-authorize your Xero Integration by repeating steps 3-5 above.
Customer support service by UserEcho
